Pages

Showing posts with label Digital Photography School. Show all posts

Saturday, 9 July 2011

“The Portrait Photography Course by Mark Jenkinson – Book Review” plus 1 more: Digital Photography School


“The Portrait Photography Course by Mark Jenkinson – Book Review” plus 1 more: Digital Photography School

Link to Digital Photography School

Posted: 07 Jul 2011 12:54 PM PDT

The Portrait Photography Course – Principles, practice, and techniques: The essential guide for photographers by Mark Jenkinson – Published by Peachpit Press – Book Review

Mark Jenkinson has enjoyed a 25 year career as a pro photographer shooting a variety of genres including portraits and fashion as well as assignments as a photojournalist. He also teaches photography at New York University Tisch School of the Arts.
Mark Jenkinson's intent, when writing this book, was to help young photographers by inspiring them while keeping a focus on the reality of starting a career in the photography industry. The Portrait Photography Course is designed as a university level text book for photography students. It will captivate a much larger audience such as hobbyist thinking of turning pro, pros wanting to learn new techniques in portraiture or anyone passionate about photography in general.
Every aspect of portrait photography, in studio and on location, is covered in the book. Composition, psychology, posing, lighting, equipment, post processing… It's all there in detail with tutorials and dozens of images to illustrates each point. Each tutorial section includes objectives and exercises as well as tips and tricks. Most of the images used in the book are not by famous photographers but by students or emerging pros. In doing so, Mark Jenkinson intended to " [...] Help young photographers bridge the gap between aspiration and accomplishment."
A section of the book is also devoted to a series of insightful interviews with established and successful pros, from celebrity and family photographers to photojournalists. Last, but not least, the author approaches vital aspects of the profession in a chapter titled "Going professional" from defining your own style, putting together a portfolio to finding a job in the industry and a list of equipment necessary to get started.
The wealth of information you will find in The Portrait Photography Course is incredible. It is definitely one of the most complete photography book I have ever read on any given topic. Whether you are a student or you've been shooting portraits for a while, I can assure you that you will learn something new and be inspired by the tutorials, images and stories it features.
Best of all, the book retails for $39.99 USD but you can save a few dollars on Amazon and it is worth every penny! This is undoubtedly the reference book that will be on your desk for years to come with dozens of colorful sticky notes marking important pages with useful tips and information.
Post from: Digital Photography School's Photography Tips. Check out our resources on Portrait Photography Tips, Travel Photography Tips and Understanding Digital Cameras.

NYIP_DPschool468x60.jpeg
The Portrait Photography Course by Mark Jenkinson – Book Review


Posted: 07 Jul 2011 07:37 AM PDT
There’s nothing like a ‘Canon’ vs ‘Nikon’ discussion to get photographers going. Those with cameras from either brand love to defend their purchase…. and those with other brands always have an opinion too. So when we were offered this infographic we thought it might be a fun comparison!
canonvsnikon.jpg
What brand do you use – are you a Canon or Nikon user or are you a fan of another brand? And why do you use the brand you use? Is it a long term thing or are you someone who flips between brands for one reason or another. Interested to hear your opinions and experience.
About the Creator of this Infographic: Complicated topics like bad credit loans are made easy on CreditLoan.com, by infographics and articles from people like Dona Collins. Credit Loan Blog is the place to find out more about her.
Post from: Digital Photography School's Photography Tips. Check out our resources on Portrait Photography Tips, Travel Photography Tips and Understanding Digital Cameras.

NYIP_DPschool468x60.jpeg
Canon vs Nikon: a Financial and Consumer Comparison [INFOGRAPHIC]


Sunday, 3 July 2011

“Comparing Gradient Neutral Density Filters To Lightroom Gradient Tool” plus 1 more: Digital Photography School


“Comparing Gradient Neutral Density Filters To Lightroom Gradient Tool” plus 1 more: Digital Photography School

Link to Digital Photography School

Posted: 30 Jun 2011 12:32 PM PDT
Gradient filters are not familiar to most beginning photographers even though they have been around a long time. The neutral density version of these filters strives to impart no color or tinting to the image, thus keeping color rendition true while darkening part of the image. Further, the gradient is variable and can start at one, two, three or more stops and transition either smoothly or with a hard line.
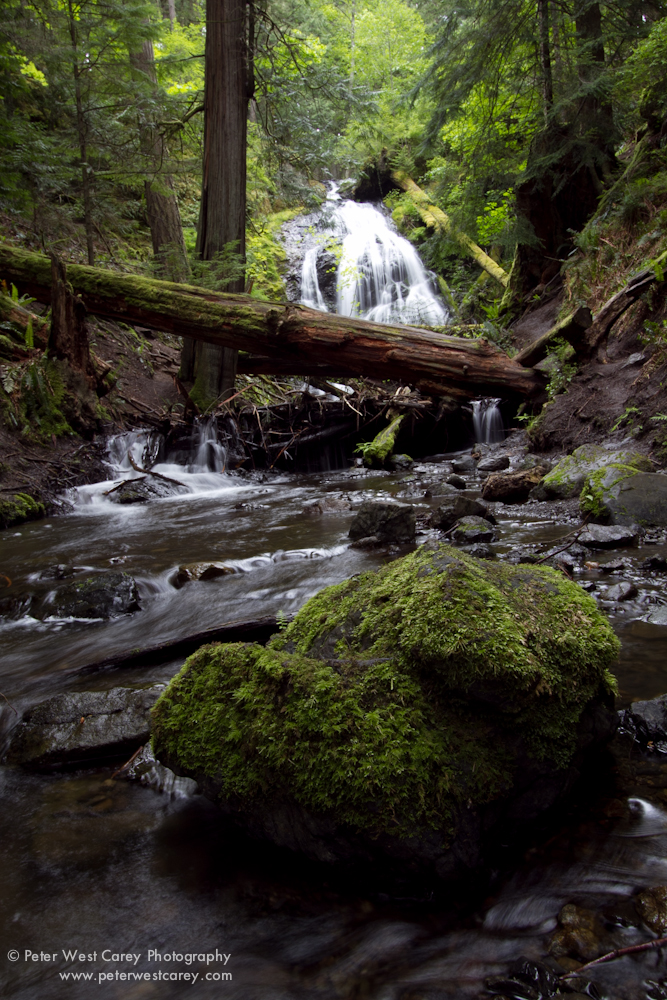
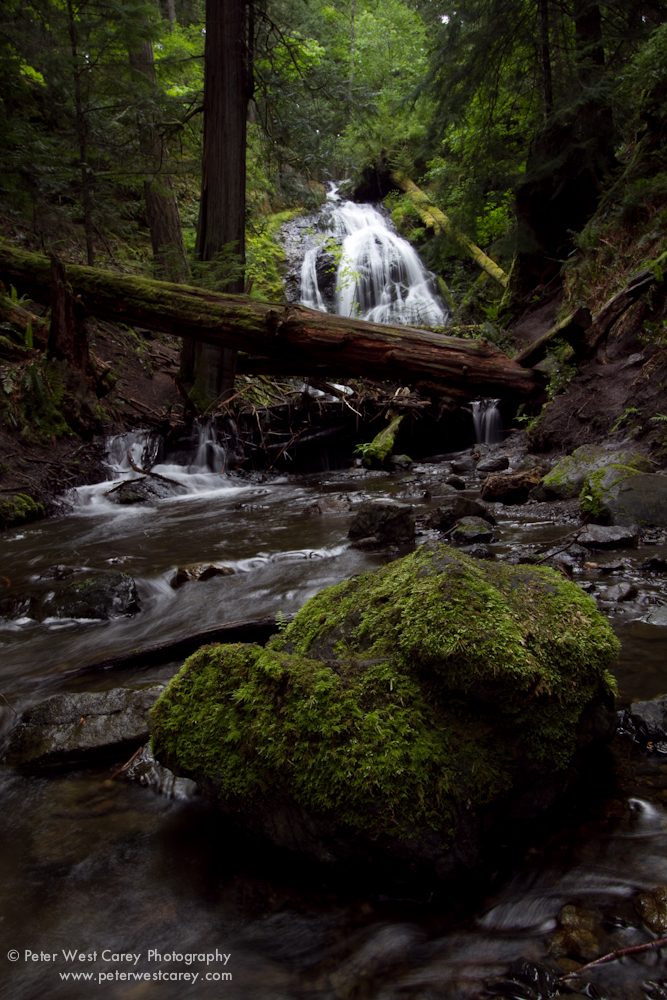
In this demonstration of the filter’s use, I want to show the difference a filter can make compared to obtaining the same results with the gradient tool in Adobe Photoshop Lightroom. Let’s start off with the shots right out of the camera. Both of these images were exposed slightly dark for the foreground to give the waterfall a fighting chance. 17mm, ISO 100, f/13, .6 seconds. The filter used is a Singh-Ray Galen Rowell 2-stop Soft Gradient Neutral Density which I purchased myself.
At first glance the upper picture, without the 2-stop soft filter looks better exposed. It’s brighter and has more life. The histograms from the photos bear this out, as the top image (shown first here) is more evenly spread while the second photo, with the filter, is pushed more to the left.
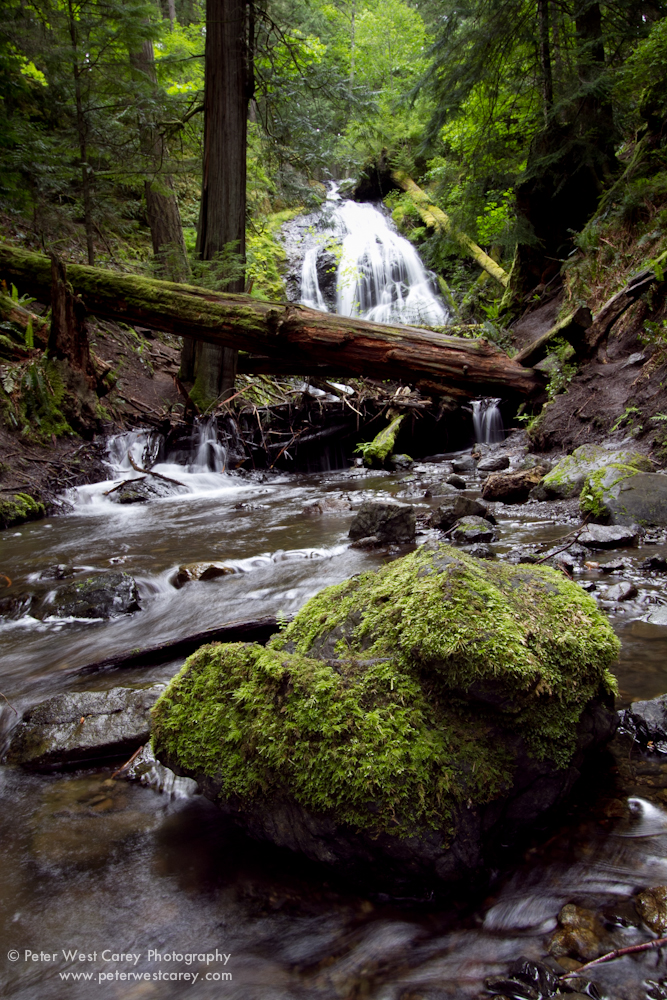
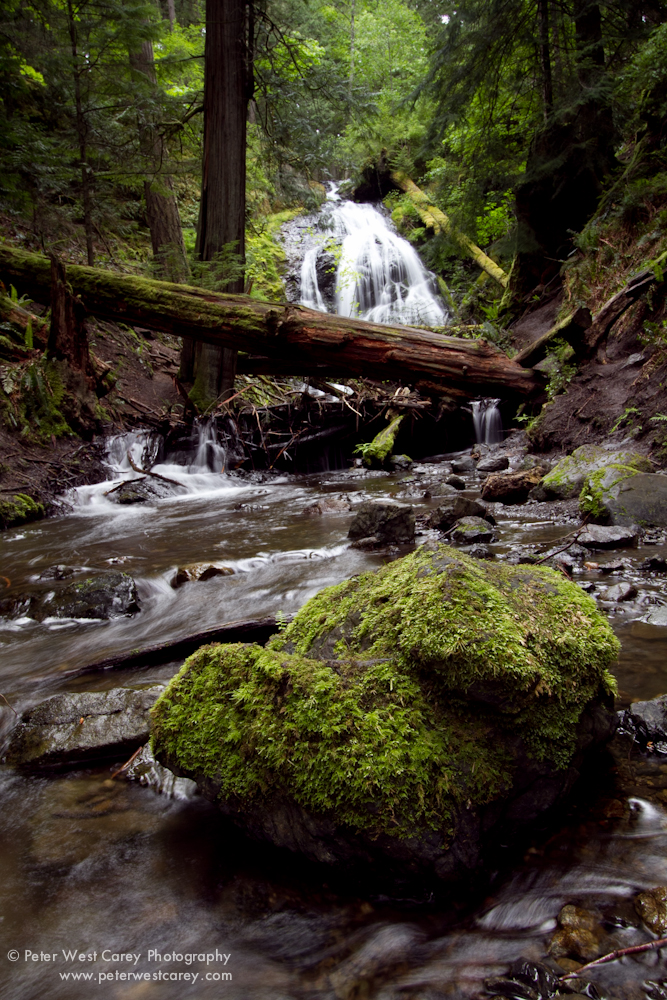
Lightening things up in Lightroom by 1.25 stops, to bring some life to the foreground, and then applying a gradient tool to the top 2/3rds and lowering the gradient by .6 stops to bring back the water brings about these results.
The devil is in the details. In this case, the waterfall. Taking a closer look reveals a loss of detail in the non-filtered image. Here are 100% crops of just the waterfall along with their corresponding histograms.
The filtered image has more information and visually is less overexposed. They both have a problem with clipping so let’s go back to the original images to see how much data we can gather.
Here are both shots, unedited, and cropped down to the waterfall. I then brought down the exposure to help grab more detail from the waterfall. The top image, still the unfiltered image, is brought down 2.45 stop in exposure while the filter image is only decreased 1.4 stops.
The histograms are nearly identical yet the information is not the same.
What am I trying to prove in this demonstration? That using tools in the computer after the fact is not a replacement for making sure data is captured correctly to begin with. In this case HDR would be a great candidate for making a proper exposure using many exposures and combining them. And in this case I had the luxury of time to be able to do so. Yet HDR is not the answer in each case, especially when moving objects are involved, such as if a Yeti were to suddenly walk down to the stream for a drink.
What’s the tradeoff? First, there’s cost and having to pack the filter with you. This isn’t the largest problem in the world, but it does add one more thing to the list of, “What should I not forget?”. That can be a big item for some people (while I should also note that seeking simplicity in packing may mean more time editing at home, which is not simple in some cases). Also this filter will not work with every lens. Guess what happens when you put it in front of a nice wide Sigma 8mm-14mm lens?
See the horrid reflection of my horrid shirt and the sky behind me? Not to mention the fact that the filter reached the limits of the wide angle at 8mm and was hard to position.
Lastly, there is the matter of filter holders. They add weight and complexity to a setup but can be beneficial in place of hand-holding filters like this, which is what I prefer.
The bottom line for me is a quality gradient neutral density filter will yield better results right out of the camera. And if you have tremendous Photoshop skills? Then you have even more latitude to make your vision a reality.
Post from: Digital Photography School's Photography Tips. Check out our resources on Portrait Photography Tips, Travel Photography Tips and Understanding Digital Cameras.

NYIP_DPschool468x60.jpeg
Comparing Gradient Neutral Density Filters To Lightroom Gradient Tool


Posted: 30 Jun 2011 07:01 AM PDT
This camera in Panasonic's Micro Four Thirds series is highly desirable from a number of angles, not least of which is the touch screen system. And you can buy it in three body colours: black, red and blue
The test camera was supplied with the f3.5/14-42mm kit zoom lens, an average and quite useful optic for everyday use.
Panasonic Lumix DMC-G2 Review.jpg

Panasonic Lumix DMC-G2 Features

Size: the maximum image size is 4000×3000 pixels, from which you can make a 34×25cm print.
Movies: the maximum size is a disappointing 1280×720 pixels, recorded in AVCHD format; smaller movie resolutions are captured in Motion JPEG. There is an onboard microphone and you can connect an (advisable) external one into a tiny input at the camera's top left corner. One plus is that you can shoot stills while shooting video and frames can be 'pulled' from the video after shooting.
Panasonic Lumix DMC-G2 Top.jpg
Panasonic Lumix DMC-G2 Back.jpg
The G2 is compact, possessing a similar size to many super zoom fixed lens compacts. This model has Panasonic's touch screen, one of the features that I figure will win many followers in the coming months.
Girl harp parrot 2.JPG
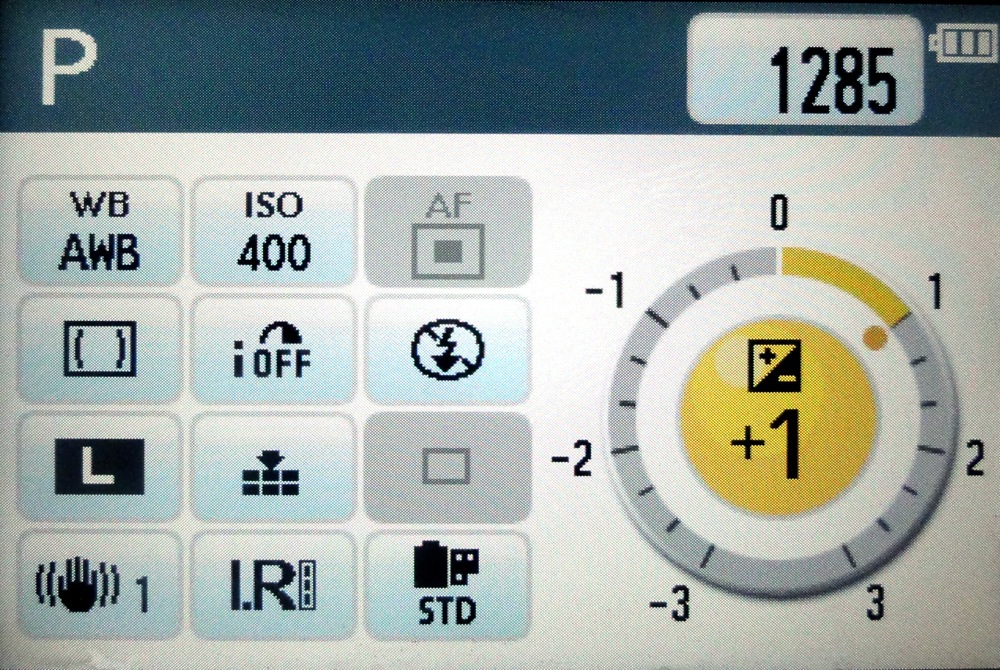
I had occasion to use the vari-angle 7.5cm LCD touch screen before I had gone very far with the G2: starting off by shooting my regular ISO tests I found the shot series was underexposed. The manual was a bit 'blurry' about this, so I started tapping the screen and quickly found that a previous reviewer had dialled in a 1.3 stop underexposure setting. No probs: I simply called up the screen and fiddled with the on screen 'exposure meter. Impressed.
Touch screen.jpg
With the touch screen you can adjust aperture, shutter speed and exposure compensation by a simple slide of a finger over the screen (a finger nail is best, because it is a pressure sensitive screen). In replay you can easily select shots or change size in similar fashion.
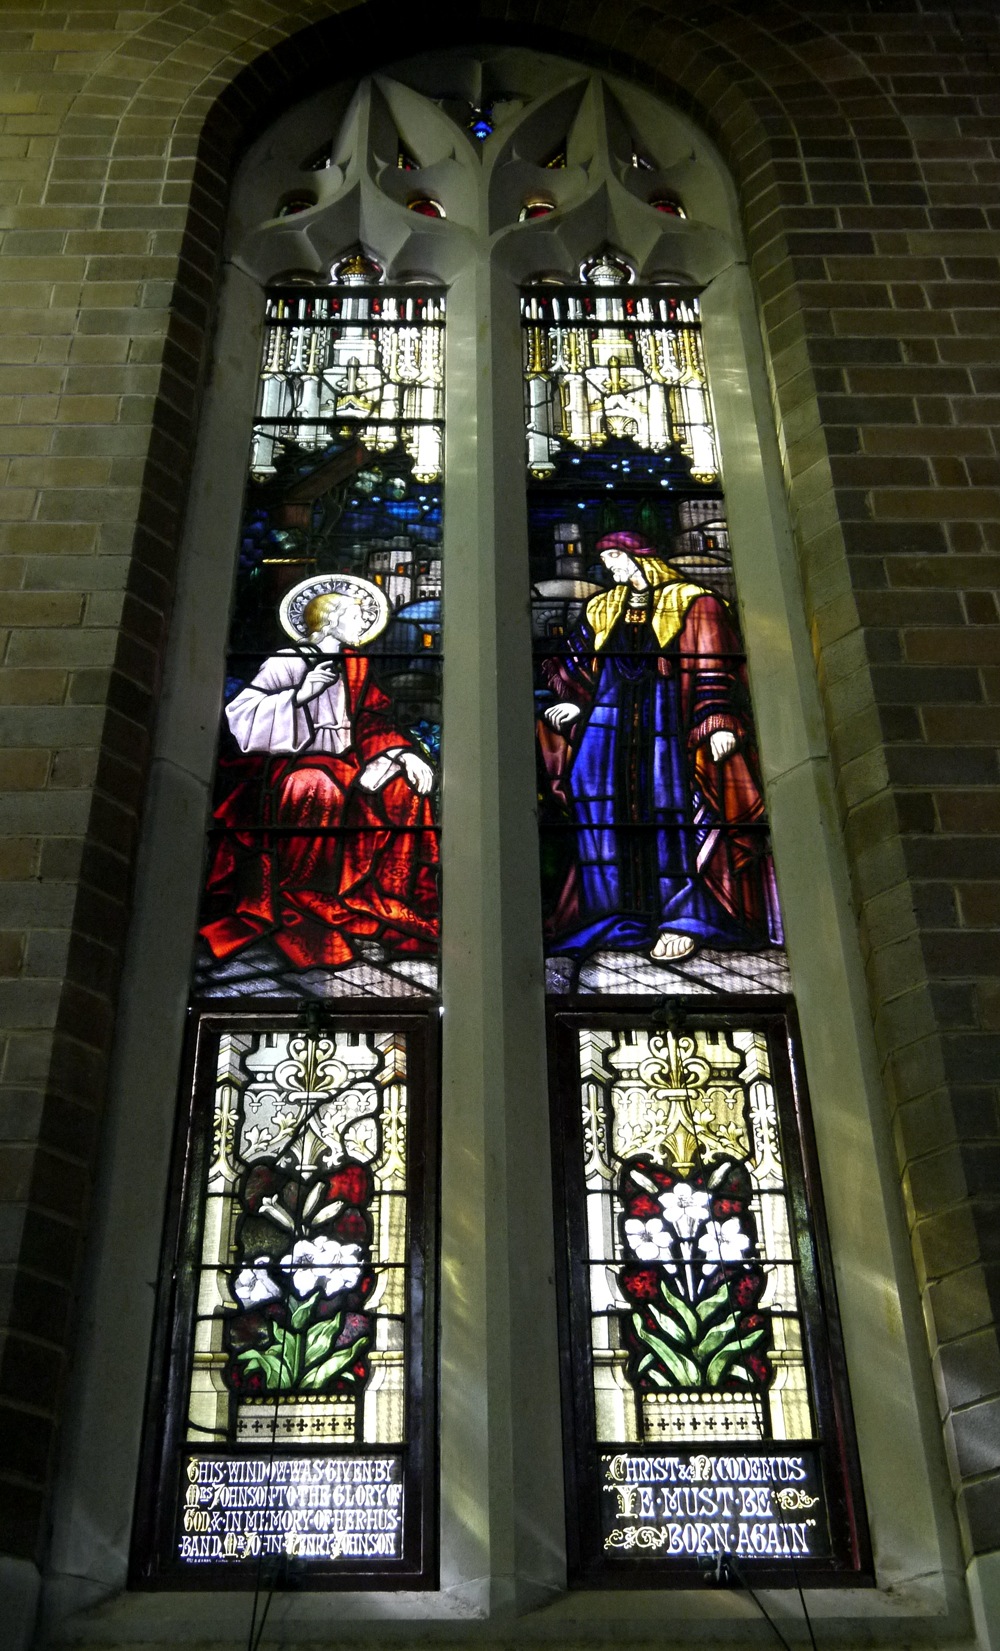
St Matthews window 2.JPG
There is of course Live View and you can use Full Time Live View to compose a shot and check your settings.
There are four AF functions: touch the screen and AF tracks the subject as it moves; a single area, changeable in size, AF lets select an area in frame to direct the focus point, face detection; multi area with 23 AF areas and nine groups.
Before I had seriously investigated the manual (typical you say!), I was a bit befuddled by the lack of a focus switch on the lens to switch from auto to manual. Then the light came on and I found a tiny lever, top left of camera, which gave me the option of single shot focus, continuous focus or manual. Using the later I then could roll the lens' focus ring to my heart's content!
The optical image stabiliser has four modes: off; always on; only when the shutter button is pressed; correction for up/down movement (during panning).
My Colour Mode: for some this is an easy way to making 'art' images … others will decry it! You can choose from an elegant look, mono, silhouette and four others plus a custom mode which gives you direct control over your twists and turns.
There is also Film Mode which lets you choose from dynamic colour, smooth colour and a number of other variations that emulate the look of various film types. For me, this retro approach is useless: who, apart from pros, can seriously distinguish (and remember!) the image quality of films made by Fujifilm, Kodak, Agfa etc?
There are also 26 scene modes: sunset, party, pets … I'm sure you know the list. An interesting one is Peripheral Defocus mode: the G2 focuses on the selected AF areas while gently blurring (defocusing) the foreground and background; this takes place without the usual aperture fiddling.
With the Full-time Live View function, you can see how these settings will change the look the shots before you shoot.

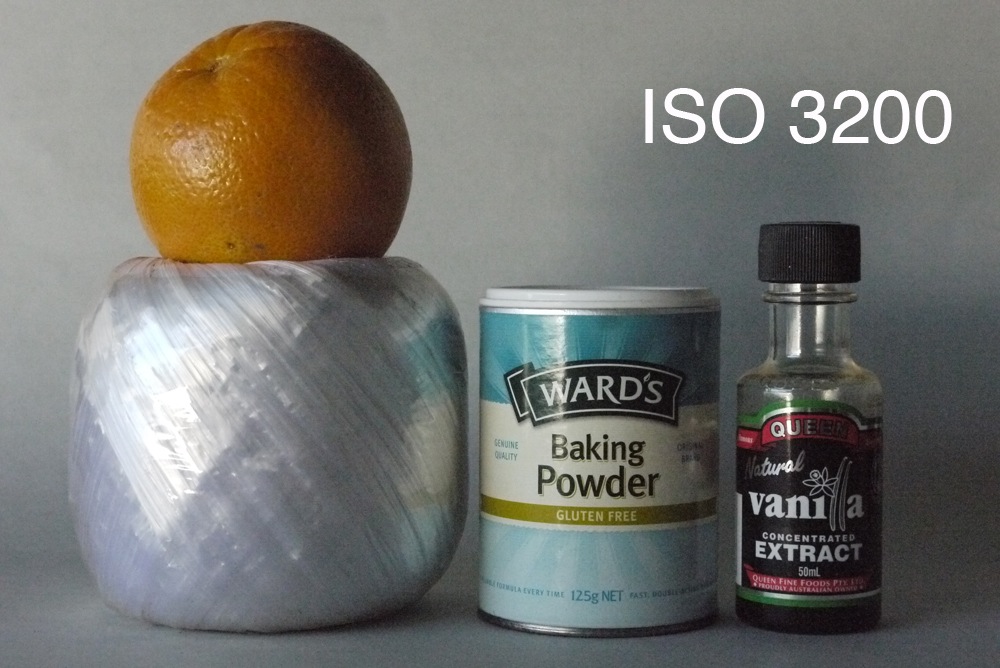
ISO Tests

Panasonic DMC-G2 ISO 100.jpg
Panasonic DMC-G2 ISO 400.jpg
Panasonic DMC-G2 ISO 800.jpg
It was ISO 800 when noise became visible in plain areas of tone. By ISO 6400 — forget it!
Panasonic DMC-G2 ISO 1600.jpg
Panasonic DMC-G2 ISO 3200.jpg
Panasonic DMC-G2 ISO 6400.jpg

Panasonic Lumix DMC-G2 Review Verdict

Homer Simpson + surfboard.JPG
Quality: easy to use, I could catch some nice quality pictures. Good and sharp too. Nice tonal range.
Why you would buy it: you need a small, interchangeable lens camera.
Why you wouldn't: if you want Full HD (1920×1080) look elsewhere … like Panasonic's GF2 and others!
One thing which annoyed me was the location of the card slot: under the camera, instead of at the side. So, when the camera is tripod-mounted, you have to remove it to unload cards!

Panasonic Lumix DMC-G2 Specifications

Image Sensor: 12.1 million effective pixels.
Metering: Multiple, centre-weighted and spot.
Effective Sensor Size: 17.3×13.0mm Live MOS. Lens Factor: 2x. Compatible lenses: Micro Four Thirds.
Exposure Modes: Auto, Program AE, shutter and aperture priority, manual.
Shutter Speed: Bulb, 60 to 1/4000 second. Flash sync: 1/160 sec.
Burst Speed: 2, 2.6 (both with Live View), 3.2 fps.
Memory: SD/SDHC/SDXC cards (Class 6 for movie shooting)(.
Image Sizes (pixels): 4000×3000 to 1504×1504. Movies: 1280×720 (AVCHD Lite), 848×480, 640×480, 320×240 (all Motion JPEG) at 30fps.
Viewfinders: Turret (1,440,000) 7.5cm LCD screen (460,000 pixels).
File Formats: JPEG, RAW, AVCHD Lite/QuickTime Motion JPEG.
Colour Space: Adobe RGB, sRGB.
ISO Sensitivity: Auto, 1600 to 6400.
Interface: USB 2.0, AV, HDMI mini, stereo mic input, DC input.
Power: Rechargeable lithium ion battery, AC adaptor.
Dimensions: 124×83.6×74 WHDmm.
Weight: Approx. 593 (inc body, 14-42mm lens, card and battery).
Prices: Get a price on the Panasonic Lumix DMC-G2 12.1 MP Live MOS Interchangeable Lens Camera with 3-Inch Touch Screen LCD and 14-42mm Lumix G VARIO f/3.5-5.6 MEGA OIS Lens.
Post from: Digital Photography School's Photography Tips. Check out our resources on Portrait Photography Tips, Travel Photography Tips and Understanding Digital Cameras.

NYIP_DPschool468x60.jpeg
Panasonic Lumix DMC-G2 Review